|
 1. 1.
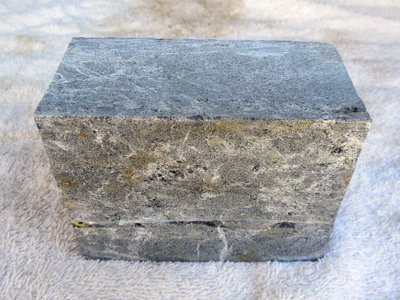
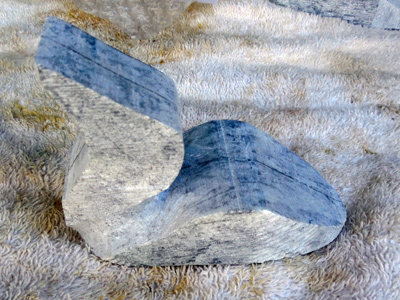
For this carving you require a piece of stone that is 3 inches
by 4 inches by 2 inches. Like the one shown at the left
Draw the pattern
on the stone and cut out with a bandsaw, as I have done, or use
a handsaw. |
 2. 2.
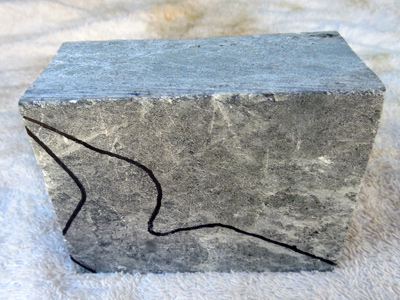
Print out the pattern of the loon.
After cutting out your pattern, Place it on the stone and
trace around it with a pencil or marker. When placing the pattern
on the stone, the grain should be oriented along the length of
the Loon. |
|
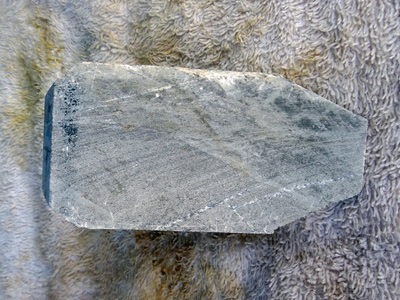
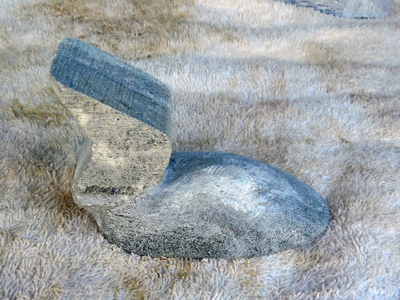
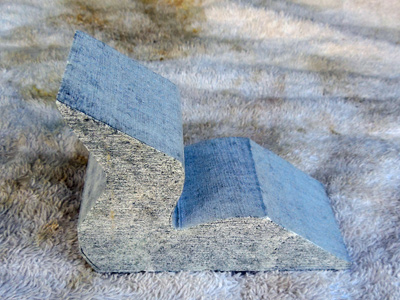 3. 3.
The form on the left has been cut out on a bandsaw.
One of the properties of soapstone, is that it will absorb
the heat created by the friction of saw tooth on stone. The teeth
will wear, but the blade will not burn up |
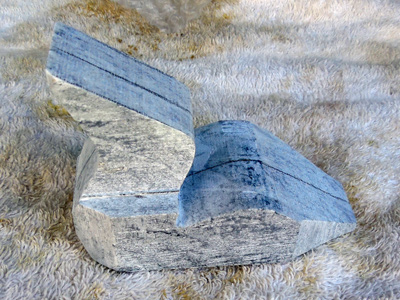 4. 4.
After marking the center line on the stone, cut with the
hacksaw blade about 3/8 of an inch off each side of what will
become the head.
The corners of the body area are then cut , in anticipation of
creating an oval, or egg shape to the body. |
|
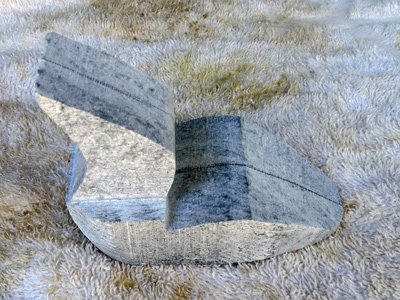
 5. 5.
The corners of the body area are then cut , in anticipation
of creating an oval, or egg shape to the body.
|
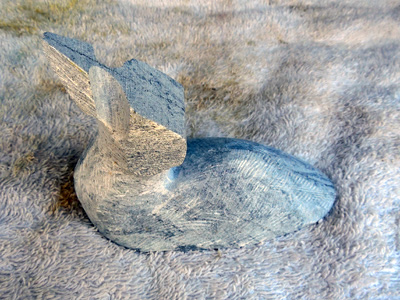
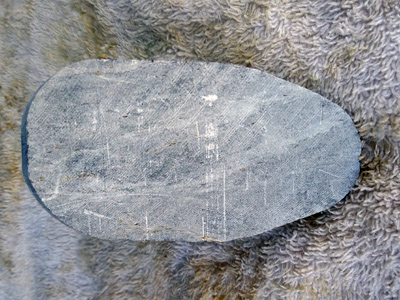 6. 6.
The rounded egshaped base |
 5. 5.
To make a square shape round, cut off the corners |
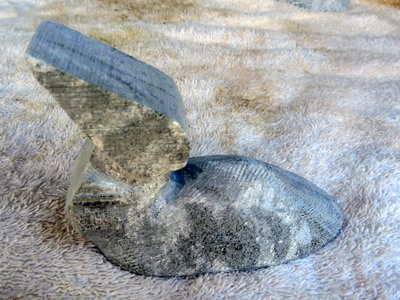
 8. 8.
Using the round file, create a definition of the neck at the
junction where the neck meets the body .
The main idea is to define where the neck and body meet. |
|
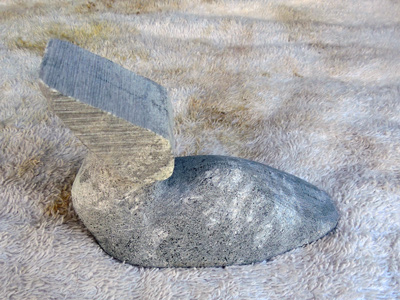
 9. 9.
The back of the loon is then rounded to create the body shape
of a loon.
The flat rasp is the best tool to accomplish this. |
 10. 10.
|
|
 11. 11.
The next area to work on, is to define where the neck meets the
head.
The line follows the beak and comes up in the back of the
head. |
 12. 12.
Begin with the round file, and after the definition is there,
finish shaping the neck with the flat rasp. Try to remember to
keep the symmetry of the carving as you work. It is often helpful
to step back from the carving to gain a three dimensional perspective.
The finished neck will have an oval shape with the small end
of the oval in the front |
|
 13. 13.
Cut the plane where the beak is going to be.
Never cut to a point. Leave some stone for the sanding to
remove.
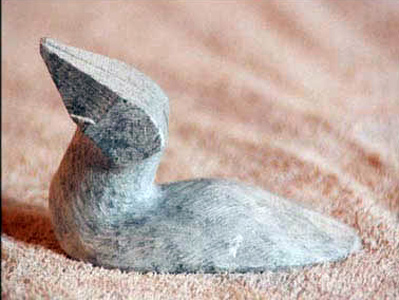
We finally come to the head. The area where the bill joins
the head is made using the round file. The cut starts at the
top of the bill and is cut down and toward the back of the head. |
 14. 14.
The bill has a triangular shape with a rounded bottom.With the
flat rasp you can then shape the rest of the head. |
|
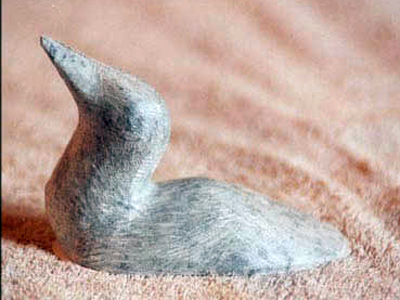
 15. 15.
Remove the file marks by sanding, using 220 or 240-wet/dry sandpaper.
This sanding is done wet. Hold the carving in one hand, wet the
carving and the sandpaper in a container of water and begin sanding
the carving with the sandpaper. The white mud that develops can
be rinsed off in the container of water. Hold on to your carving
as wet, smooth soapstone can be very slippery.
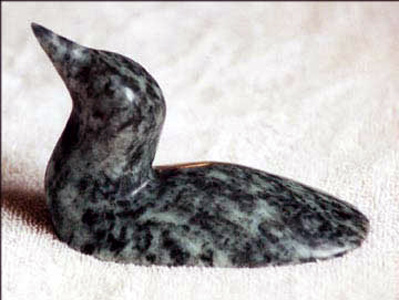
At the left is the sanded carving without the polishing. |
 16. 16.
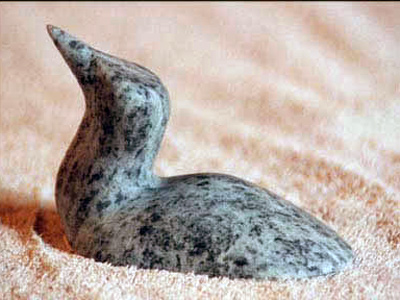
There are two ways to polish the carving. The bee's wax polish
or the linseed oil polish.
Here are the instructions for both.
Sanding and polishing
The colour and mottling will vary, depending on the stone
you are using. |
|
I hope you have enjoyed carving the Little Loon. |